
Spinning Love
Danielle Moore
23 Jan, 2019 3:35 pm

Last weekend I had the most amazing opportunity to learn how to process a raw wool fleece straight from Long Way Homestead, a family-run fibre farm and wool mill in Eastern MB. My friend, Lauren, reached out to me once she had heard about my desire to learn skills for the Climate Apocalypse, and am I ever thankful! Lauren has spent time on-and-off teaching herself and learning about the process of preparing wool into yarn through attending the Fibre Festivals here in Winnipeg, to youtube tutorials, and some community classes. We condensed a lot of this learning into a Saturday morning, so it’s needless to say that I’ve only just scraped the surface of this intense and laborious process.
We started out with something that looked like this:
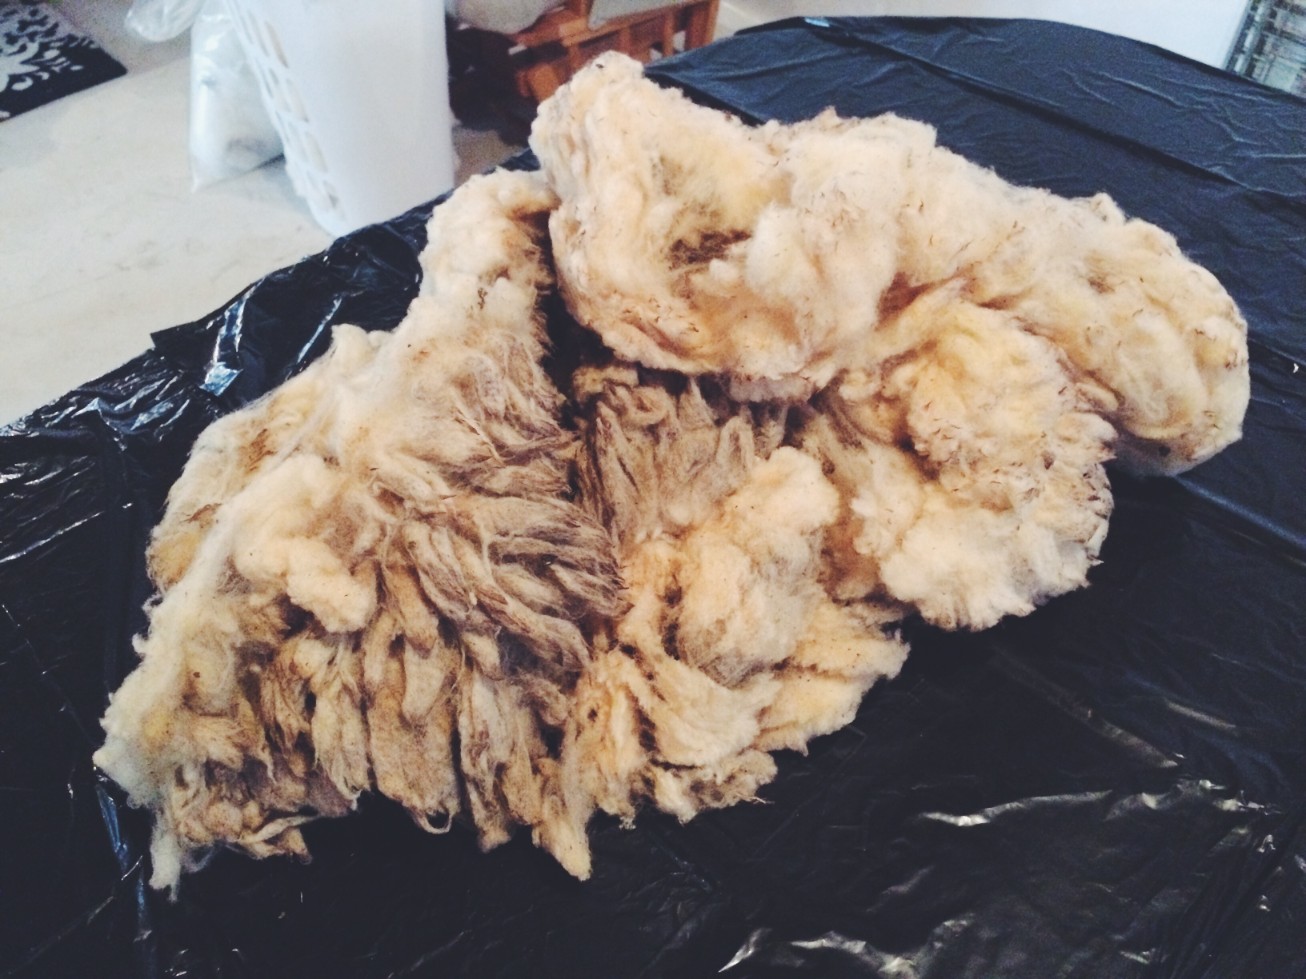
Covered in VM (Vegetable Matter AKA poop, urine, mud, etc.), our first task was to do a rough clean of the fleece picking out what we could with our hands. This is a process called skirting. At this point, the fleece is called “Grease Wool”, because, well, it’s covered in grease. Specifically, something called lanolin, a natural oil produced by the sheep to waterproof it’s coat! Fun fact: there’s a process for extracting lanolin from a fleece so that it can be used as a treatment for dry skin and other irritations. Oh I love when everything gets used up.
After doing what we could with our hands, we brought a small portion to a sink to be bathed and rinsed in hot water. This removed even more VM and when bathed in some dish soap, we removed the lanolin as well (we didn’t extract lanolin). Letting the section of fleece bathe and shed some of its VM/grease, we moved onto another step in the process - carding. Lauren tells me that this is the flow of wool processing, always having your hands busy with one step or another so that you’re never waiting around. The do-er in me squeals with excitement, albeit ignorant of the huge amount of work and patience that lies ahead.
With some pre-bathed and pre-dried wool, lauren brings out two paddles covered in little spikes. These are hand carders, that are used to disentangle and organize fibres for optimal spinning. Watching Lauren use the carders made it look like she was spreading mashed potato, a throwback to me playing around with my food as a child (mashed potato castles, anyone?). Then it was my turn. And let me just say, it was not like spreading mashed potatoes around on a plate. if your New Year’s Resolution was to exercise more and learn a new skill then you should take up carding.
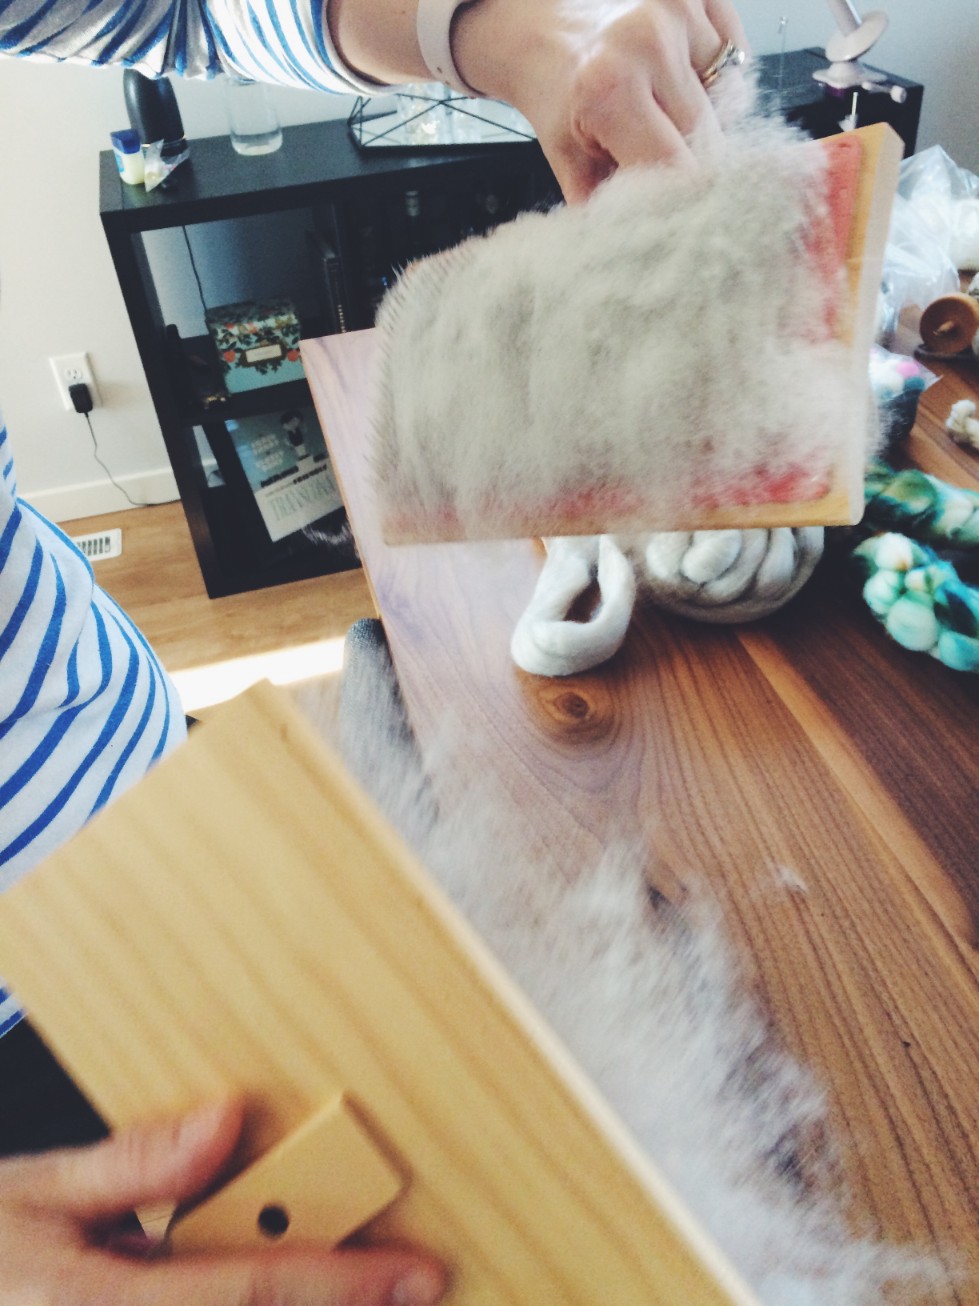
We got about 15 minutes of carding done before the timer told us the grease wool was ready for another bath. We have to be careful not to shock the wool with too much of a temperature difference. Wool has a temperament. We drained the sink and filled it up with some lukewarm water and let it sit for another little bit. Double bath sounds like a good practice to take up in my personal life too. I take note.
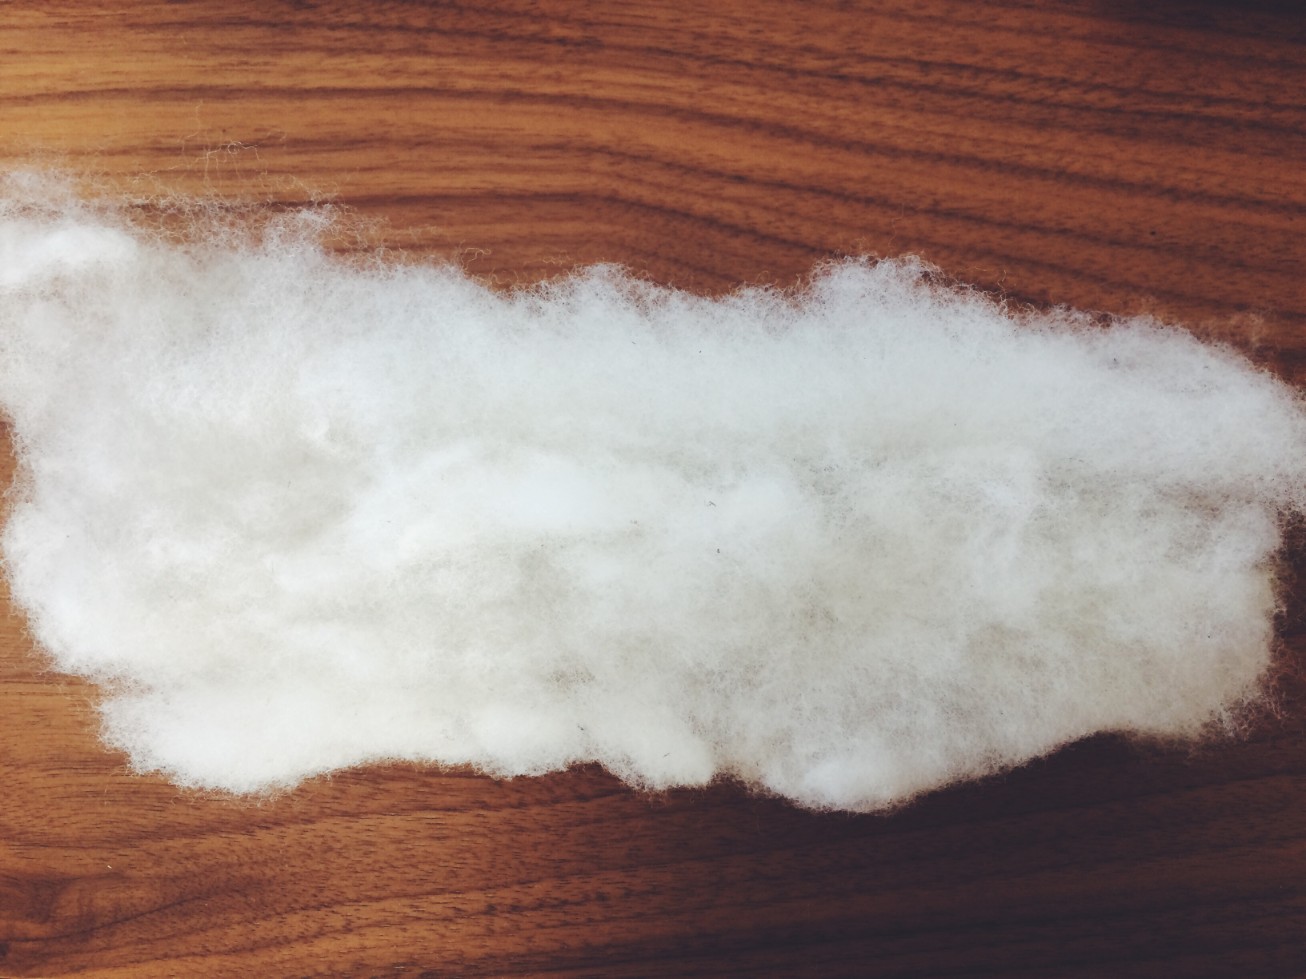
Ok now back to carding. Once we were happy with the look of our wool and my back muscles were sufficiently tired, we took it off the hand carders and set it aside. The wool is now called wool roving, and it looks like a wispy cloud. We are ALMOST ready to spin, but first we undergo something called drafting, which is the process of making our wispy cloud a little thinner, but evenly so that once we feed it into whatever spinning process, the yarn comes out nice and even.
Meanwhile, our degreased VM-free (mainly) wool has had its second bath and is ready for drying! Lauren uses a little salad spinner to rid the wool of excess moisture (brilliant!) before we set it on a drying rack to dry. Different parts of the fleece will respond differently to this cleaning process, and some parts are fairly unuseable. We compared the dirtiest part of the fleece with a part that seemed light and and untouched in comparison, both after this cleaning process and I was surprised by how much variation there was!
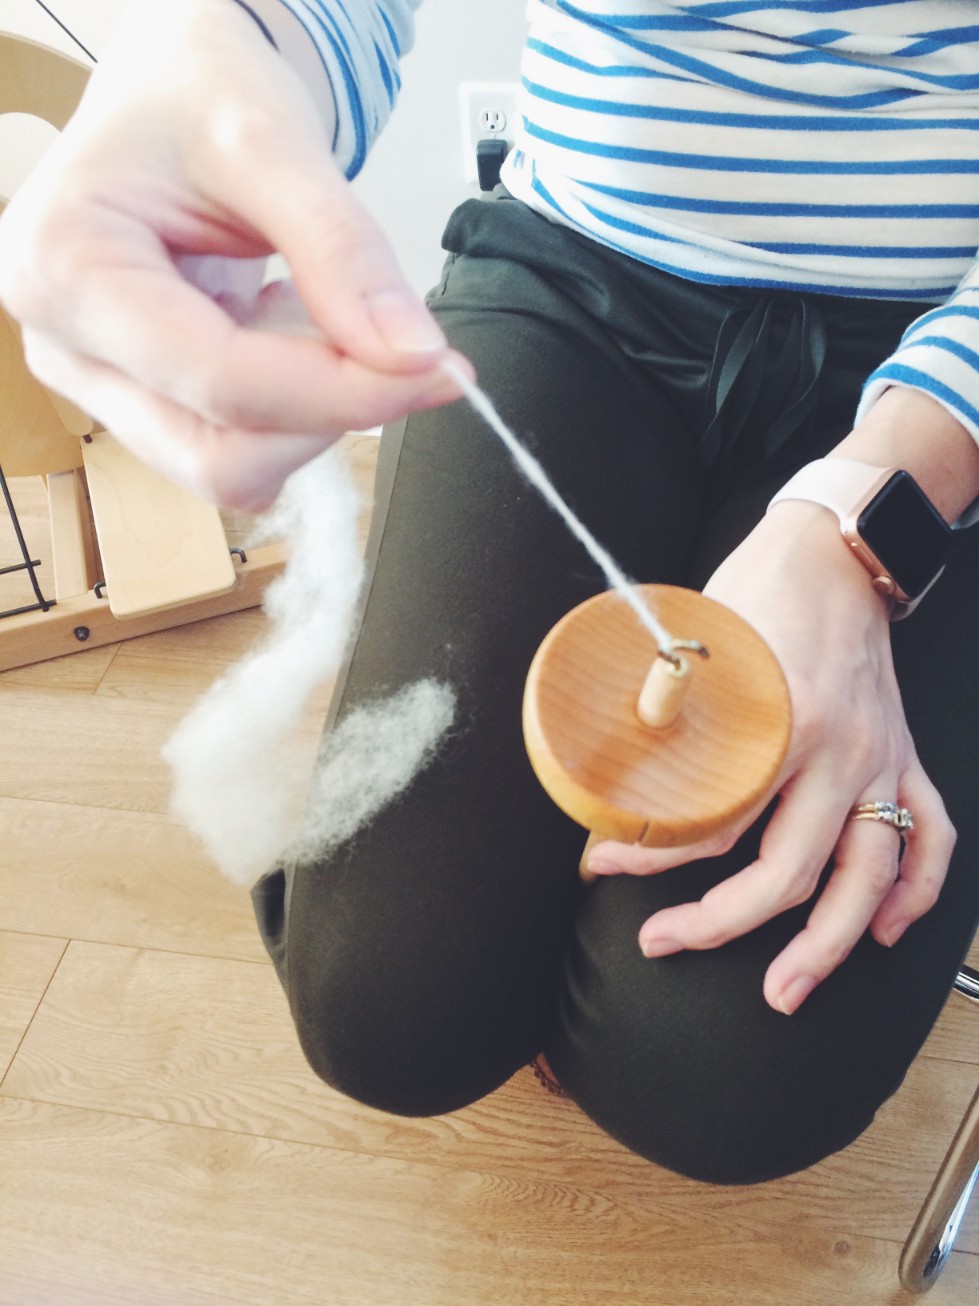
And now onto spinning. This is the part of the process that both totally enraptured me, while also sending me onto the edge of utter frustration. I first try my hand at using a drop spindle, which looks like a children’s toy at first glance. I quickly learn that this tool requires a level of mastery unknown to my beginner’s hand. To spin wool using a drop spindle, you have to make sure that you are evenly spinning the wool as you evenly feed the yarn new wool, making sure that it doesn’t get too twisted in one specific location. This was a lot to pay attention to at once, all to ensure an even-looking yarn. Of course, my beginner hands produced a yarn that looked more like globs of stringy glue from a hot glue gun.
We moved onto using the spinning wheel. Great, I think, technology that will make this whole process a little easier. Not quite. If I thought the drop spindle was a test in patience, the wheel is a lesson in balancing atop a log rolling through rushing waters. This is really how it felt. Your foot has to maintain a constant rhythm, your hands both drafting the yarn (making sure it’s evenly fed) and feeding the wool into the wheel at a constant pace. Any variance in your tempo will show in your yarn, like how tree rings on a tree show changing conditions. I think this is quite beautiful.
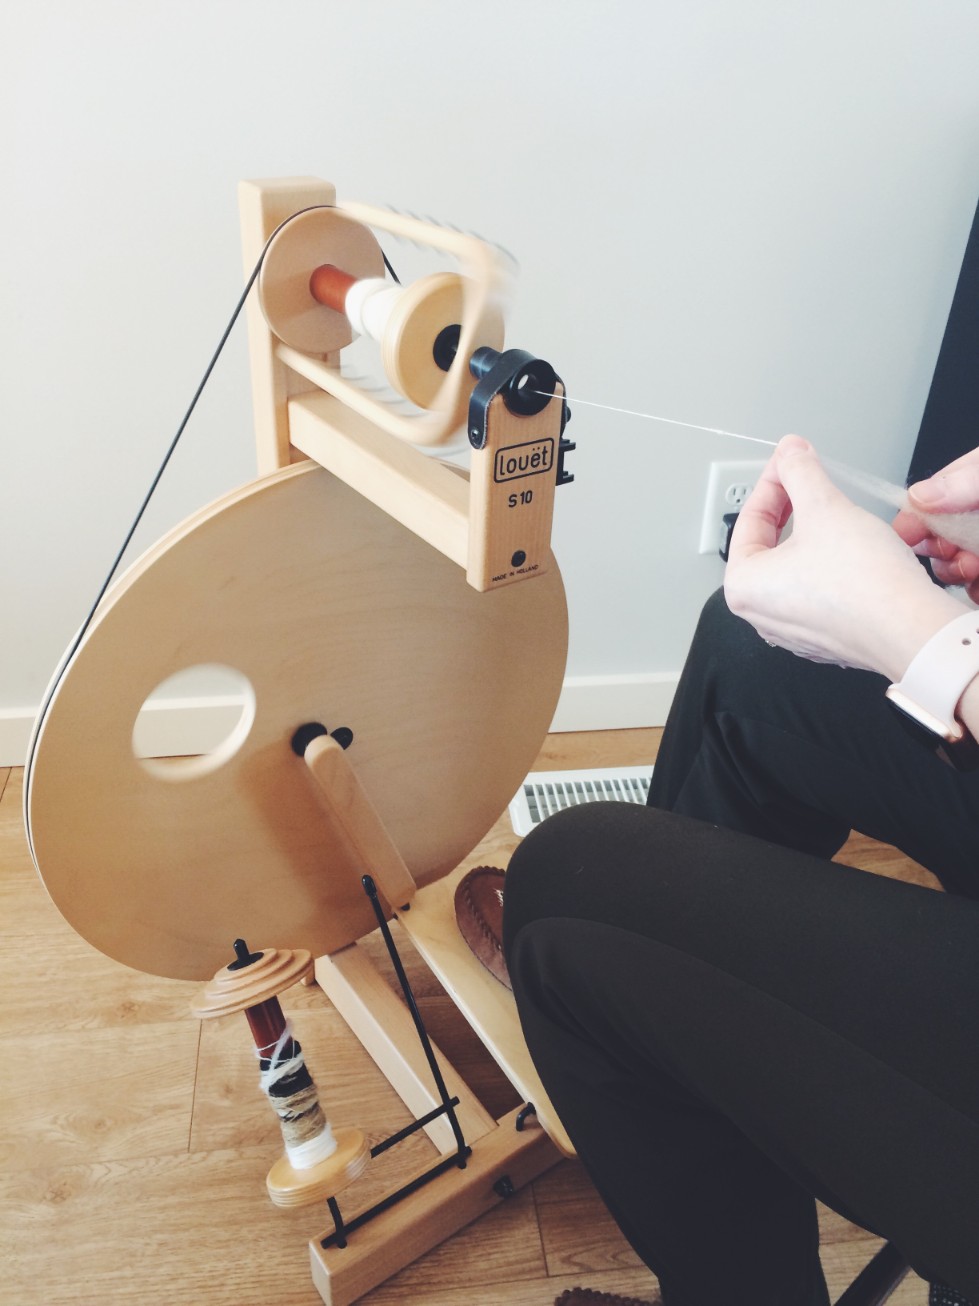
On spinning and love
Although my yarn ended up looking quite uneven, clumpy, and even globular at points, Lauren reminded me that this is just part of the process of learning. Patience, I am reminded, is truly a virtue. She then shows me an example of finished plied yarn, which is two individual strands of yarn that is spun together to produce something more balanced.
I think of my uneven, clumpy, globby yarn and am filled with hope that there will be another strand of yarn for this strand to be spun with.
One that will balance it out at its thinnest parts and chunky parts.
Two imperfect strands that combine to make something much, much stronger than they could be on their own.
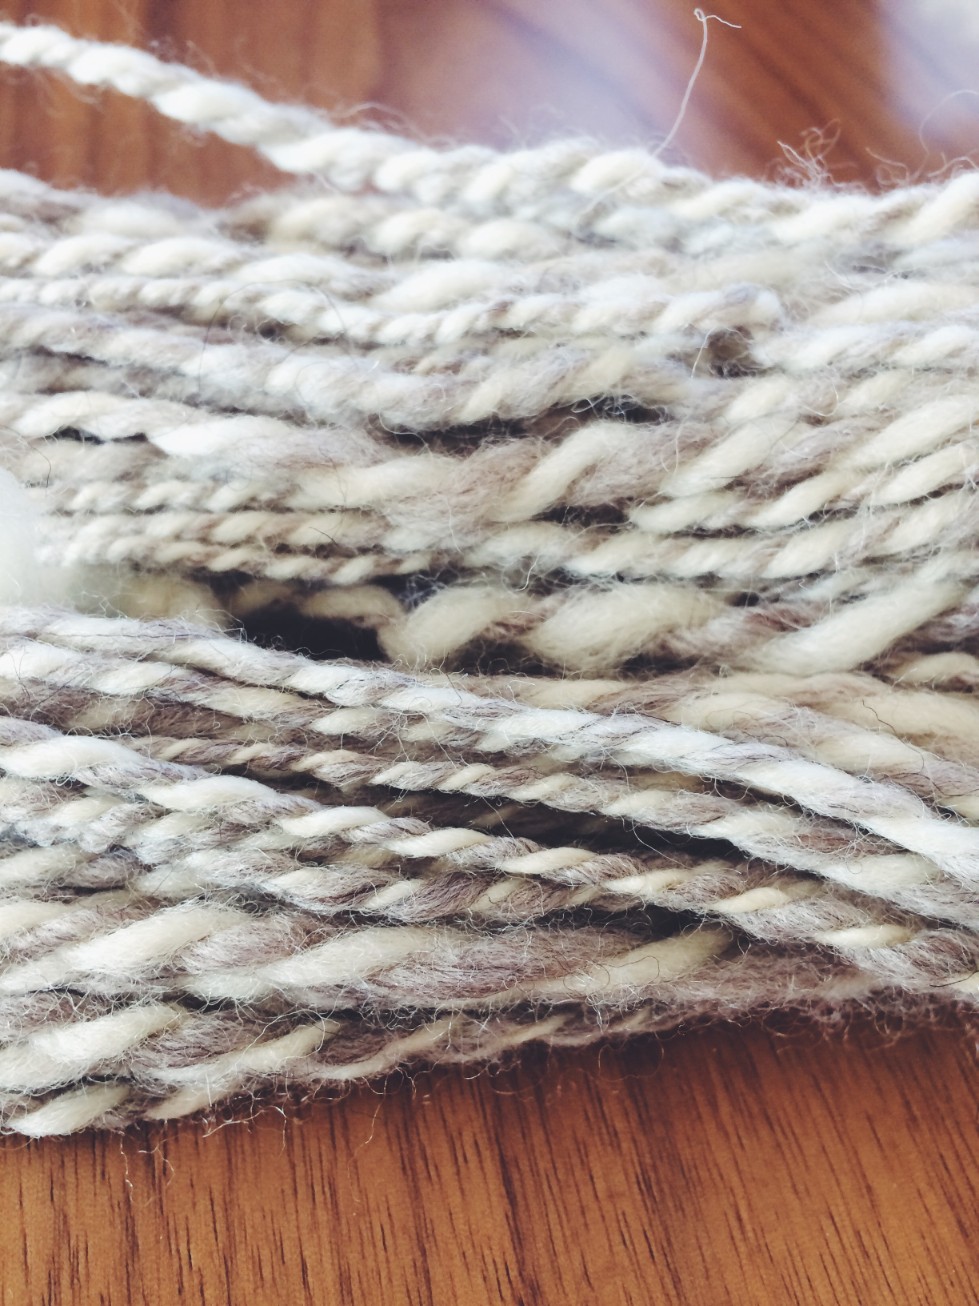
Special thanks to Lauren Annell, the world is a better place with teachers like you!
xoxo
The Cautious Optimist
